How To Make A Wooden Wick Candle
So you want to learn how to make a wood wick candle? If you have never made a candle before and you’re ready to give it a go, we are here to help you!
how do you make a wood wick candle?
While it isn’t hard to put a wick and some wax into a container and call it a candle, successfully making a wood wick candle that burns properly takes a little education, testing, and most of all, patience.
That being said, we are going to start with a simple container candle. Keep reading to learn how to make your candle step by step.
choose your wax
You need to make sure the wax is meant for container candles. This information should be specified when you purchase your wax online if the use is for container or pillar candles.
Many people want to use 100% soy. However, 100% soy can be tricky as there are a few issues that are harder to control in a 100% soy wax. Particularly for new candle-makers.
The first is the ability to hold a substantial fragrance load as it will often sweat or “leach” fragrance. A fragrance load (or the scent load) is the amount of fragrance that you add to your wax blend. AKA the percentage of fragrance in the overall blend. Sink holes, frosting, and wet spots are also harder to control with 100% soy.
Sink holes occur when air pockets are trapped inside a candle and leave pockets or craters beneath the surface of the wax.
Frosting is more than just the delicious icing on that b-day cake! In candle making, frosting refers to the formulation of white crystals on the surface of your wax. Frosting is a byproduct of using a natural soy wax, and while it doesn’t affect the performance of your candle like a sink hole, it certainly doesn’t look very nice.
And lastly, our good old friend wet spots. Wet spots can occur in paraffin or soy wax, and occur when the wax pulls away from the glass in certain areas, forming a “spotted” look on your glass. Like frosting, wet spots don’t do much to affect the performance, but they don’t look so great on your glass!
You can avoid a lot of these issues with a few quick tricks such as:
- Ensuring your glass is cleaned with warm water before pouring
- Preheating your glass in a warm oven (100-110 degrees F (38-43 C) to slow the cooling of the wax
- Pouring your candles in a warmer room temperature (70-75 degrees F 21-24 C)
We know this one is easier said than done if you’re making candles in the winter months! We prefer vegetable blends, like our makesy virgin coconut soy wax and our coco apricot creme wax which are excellent for container candles, have the ability to hold a high fragrance load, and are much less challenging than working with 100% soy wax.
choose your fragrance oil
When choosing a fragrance, make sure it is specifically formulated to be used in making candles, this is very important.
This information should be included from the company you are purchasing your fragrance from… and if you are ever unsure, ask! Also, make sure it smells good!
If you are looking to make a top quality candle using the finest ingredients, we suggest using our makesy fragrances.
With a curated selection of exceptional on-trend fragrances, you will have no problem finding something to love. We suggest using a fragrance load of anywhere between 8-12% of your overall blend. This will help to ensure a strong cold and hot throw, while maintaining candle safety and performance.
cold throw vs. hot throw
The cold throw is the amount of fragrance that is emitted when it is not burning, while the hot throw is the amount of fragrance that is emitted when it is burning.
If you’ve ever purchased a candle that smells great at first, but didn’t do much once it started burning, you have an issue with your hot throw.
Wooden wicks are known for their excellent ability to diffuse fragrance and offer an excellent hot throw. If you are having issues with your hot throw, or lack of one, we suggest trying out our wooden wicks or increasing your fragrance load up to 12%.
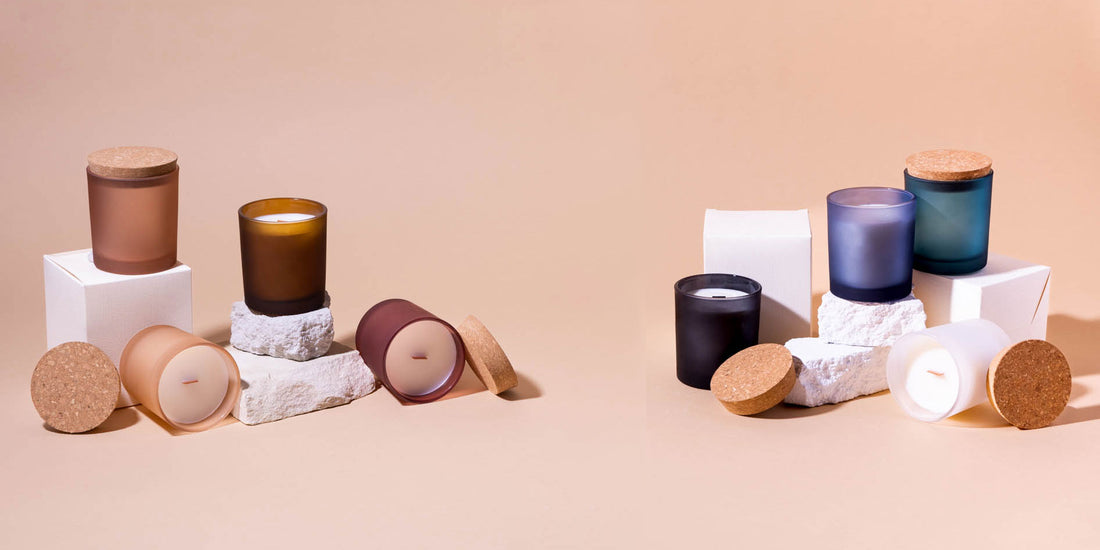
choose your vessel
Make sure your vessel is a safe option to contain a burning candle. That cute paper mâché bowl won’t be suitable!
There are many candle making websites that offer a range of vessels that are safe for making a wood wick candle. Common choices are glass, concrete, stone, and ceramic.
As far as size, a good place to start would be a vessel that is between 2.5” – 3” in diameter and 3”- 4” tall. If you really want to make an impression, we have an amazing selection of unique and stylish makesy vessels to choose from!
choose your wick
The next step is choosing your wick. Of course we think wooden wicks are the best! You will want to refer to our wick selection guide for suggested sizes.
The wick selection guide will give you several wood wick options to test out based on your wax type and vessel size.
This is probably the most important step in candle making – choosing the right wick for the candle wax blend and vessel to achieve optimal burn.
There are many factors that determine how a candle will burn including:
- Wax blend
- Fragrance load and type
- Dye - optional, if you would like to add color to your candle
- Additives
- Vessel diameter
- Temperature the wax is heated to and poured
- Wick size
- Ambient room temperature
- Air circulation - burning in a windy space = no bueno!
- ...and this is only a partial list.
conduct a burn test
You are always going to want to try a few different wicks and then conduct a burn test to see which is most ideally suited to your candle project.
Any change at all (for example a different fragrance, even at the same load) can have a direct affect on the burn. Sometimes the affect is minimal and other times quite substantial.
what you'll need to make your wood wick candle
You'll need a few tools and ingredients to create your wood wick candle. Many of these items can be used again and again so it's worthy investment if you think you'll be making more candles in the future.
- Wax
- Container/vessel
- Candle fragrance
- Wooden wick, wick clip, wick sticker – to hold it all in place!
- Pouring pitcher
- Thermometer – if you have a kitchen thermometer, this will work fine.
- Heat gun (optional)
- A good attitude!
steps to make your candle
- Cover the area you will be working on just in case there are any spills or mishaps. We suggest using a drop cloth or an old towel or sheet lying around the house will work fine as well!
- Clean your vessel and place a wick sticker on the bottom of the wick clip. Press your wooden wick into the wick clip. Then press the entire assembly into the center bottom of your vessel. Wooden wicks are rigid and stand up on their own. You will not need to use any other tools to keep your wick in place while pouring your wax.
- Melt your wax in a double boiler in a wax pouring pitcher or wax heater until liquefied. Do not exceed 200 degrees F (93 C). If you do not have a wax pouring pitcher, use caution if using a household pot as this may damage the bottom of the pot itself. We always suggest using a pouring pot designated for candle making.
- When the wax cools to the Mix Temperature (the suggested pouring temperature for your wax type refer to manufacturer’s instructions. Following the wax manufacturer's instructions is extremely important as if not followed it will result in issues with your candle).
- It is time to add the fragrance. Make sure to spend a couple minutes briskly stirring the fragrance into the wax. You can stir the wax with a kitchen whisk, or other kitchen utensil around the house. Your fragrance load (percentage) will depend on your fragrance, wax type and its ability to hold fragrance as well as the desired strength you are looking for in both cold throw and warm throw.
- Slowly pour the blend of wax and fragrance into your vessel. You’ll want to pour the wax until there is about ½” of the vessel showing above the wax. This is the perfect height for your wax!
- Let your candle cool for at least 24 hours before handling. If your wick is more than 3/16” height above the wax, you will need to trim your wick. We suggest using a pair of candle wick trimmers, but if you do not have any you can also use a pair of sharp scissors to cut the wick down. It is important that your wick is around 3/16” height above the wax for your candle to burn properly.
- Once you have waited the 24 hours for your candle to fully cool, you can now light and enjoy your candle. Maybe give it as a gift to a friend. You now have bragging rights that you can make your own wood wick candle! Sit back, relax, and enjoy that crackling ambiance.
candle making tips
If you are using 100% soy you might need to poke relief holes as the candle is cooling. Once the candle is fully cooled (do not refrigerate), depending on the type of wax used, you may need to do a re-pour to level out the surface.
If you don’t want to do a re-pour, we suggest using a heat gun – being very careful not to burn the wick. Quickly wave the heat gun above the surface of the candle for a perfectly smooth finish. Do not use a hairdryer as that will melt and blow the wax creating a big mess.
Keep checking our website as we introduce more candle making supplies, candle making kits, and wholesale candle supplies. Now that you know how to make a wood wick candle, start experimenting with wooden wicks! Get started with a wooden wick sample kit.
We love sharing your creations! Don’t forget to share your creations and tag @makesy on Instagram or Facebook for the chance to be featured!


